
Featured Articles
Best Lazyboy Recliners for Big Man (300-400lbs)
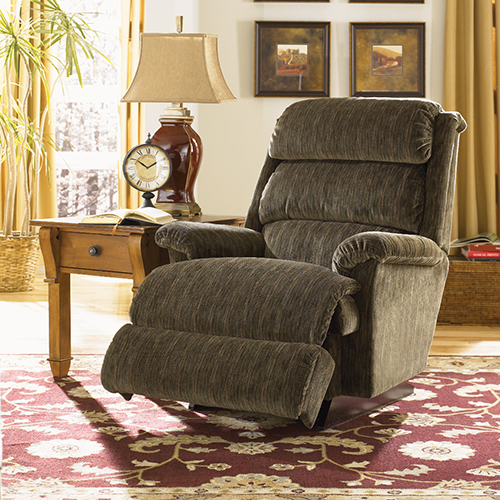
Recliners are often a welcomed addition to the furniture in your home since they are stylish, comfortable, and relaxing. However, some recliners wear out in months if it is not suited for the right body size. This article covers the best Lazyboy recliners for the big man who may weigh 300-400lbs.
Top 3 Best Lazyboy Recliners for Big Man (300-400lbs)
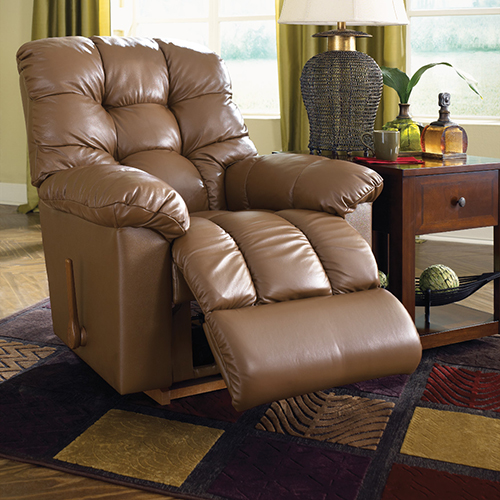
BONUS! Best Non-Lazyboy Recliner for Big Man (300-400lbs)
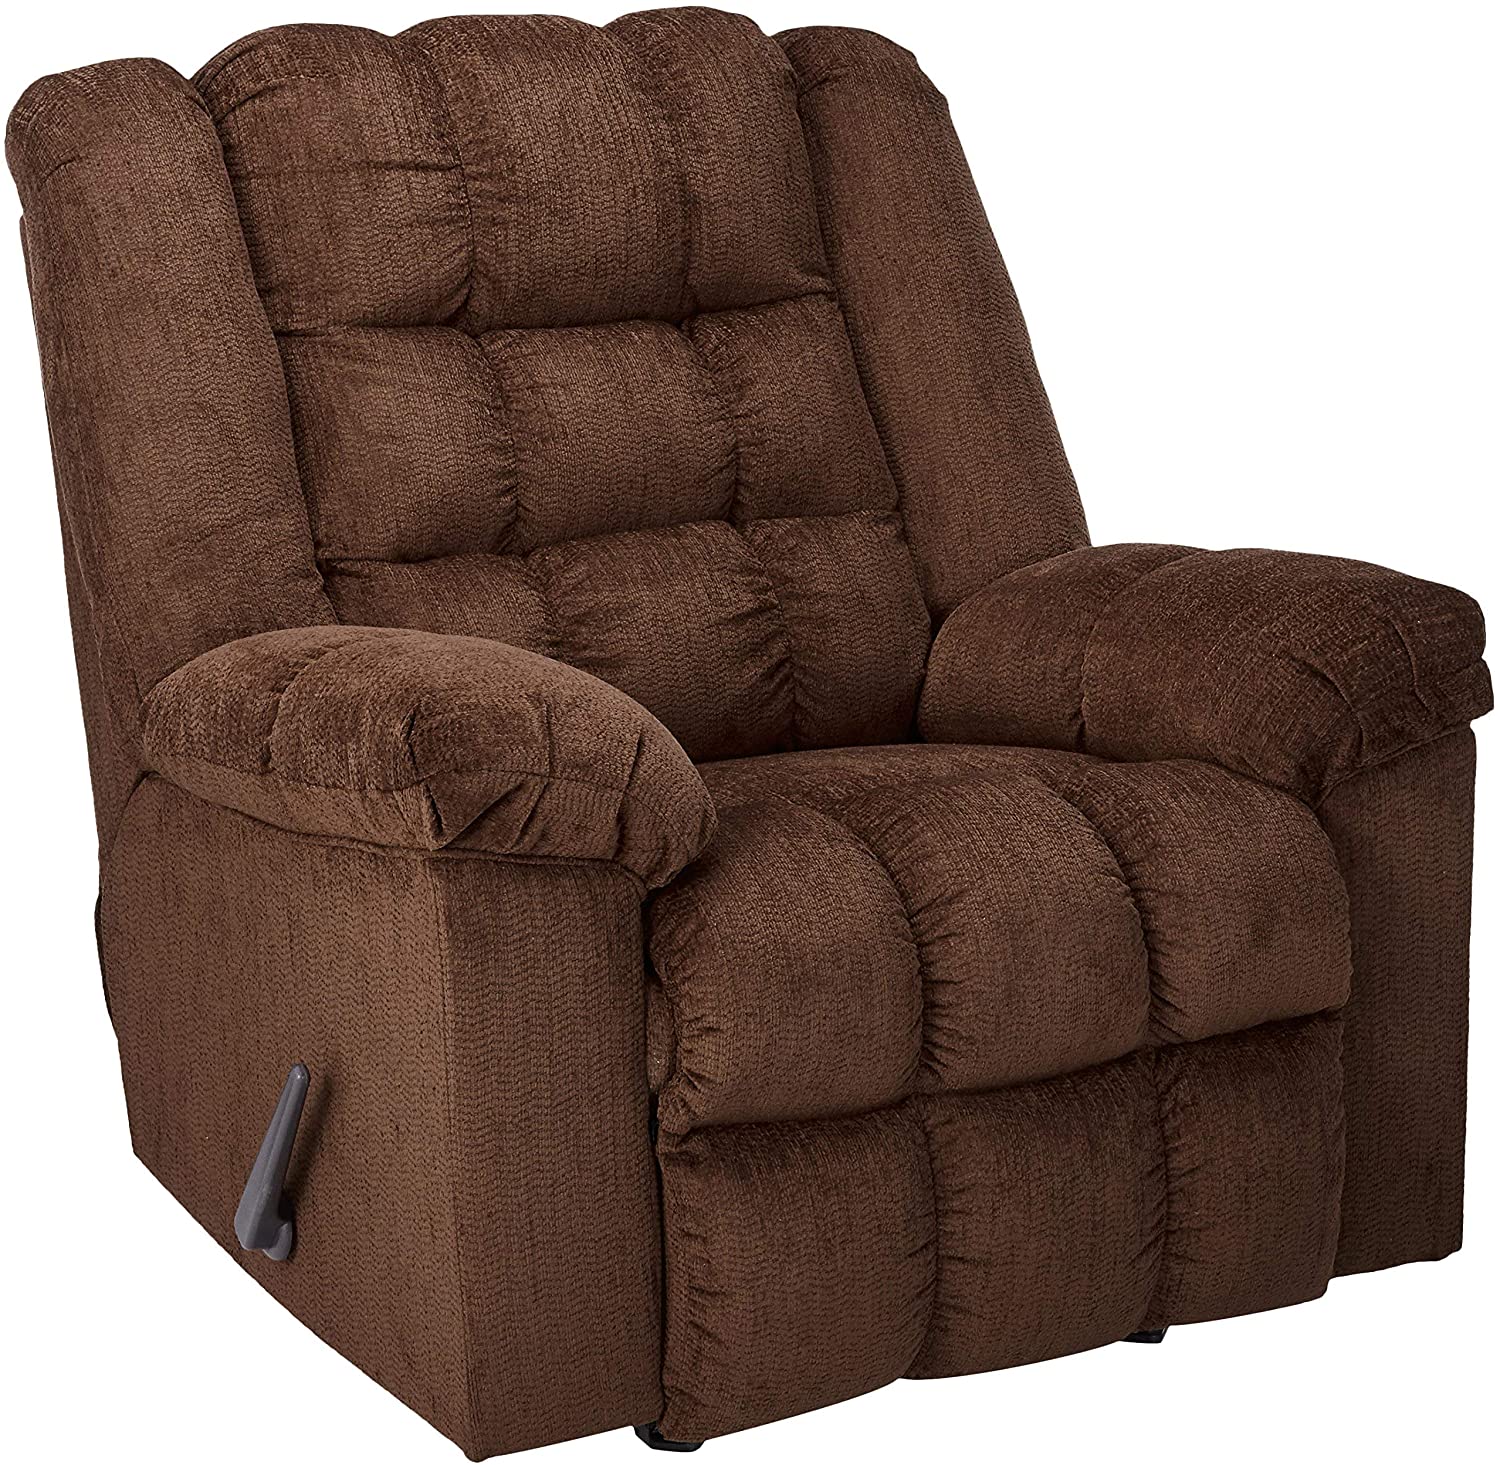
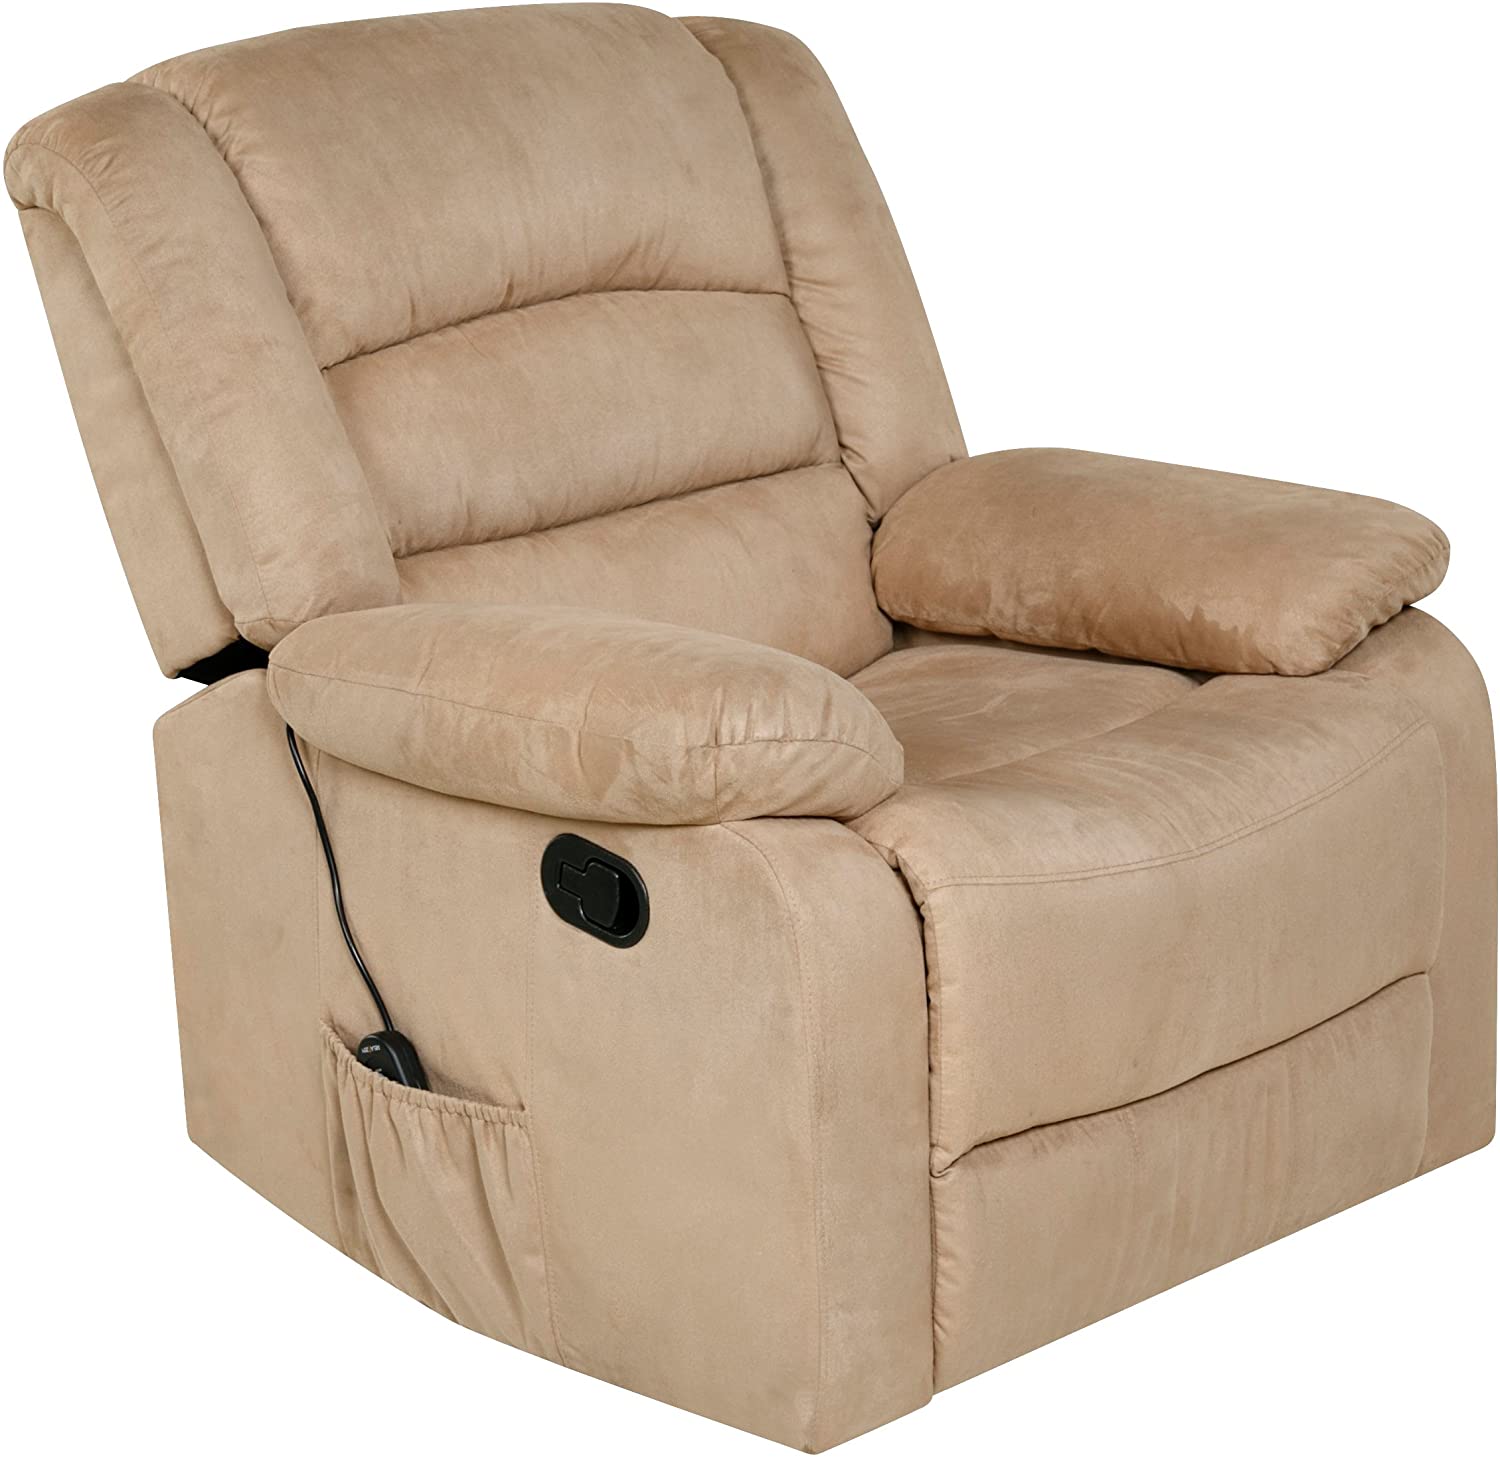
1. Signature Design by Ashley Ludden Ultra Plush Manual Rocker Recliner
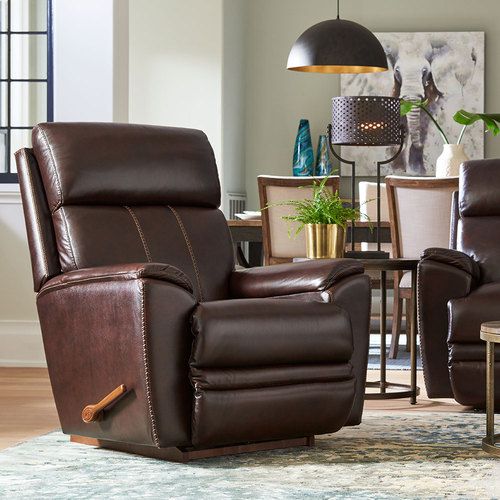
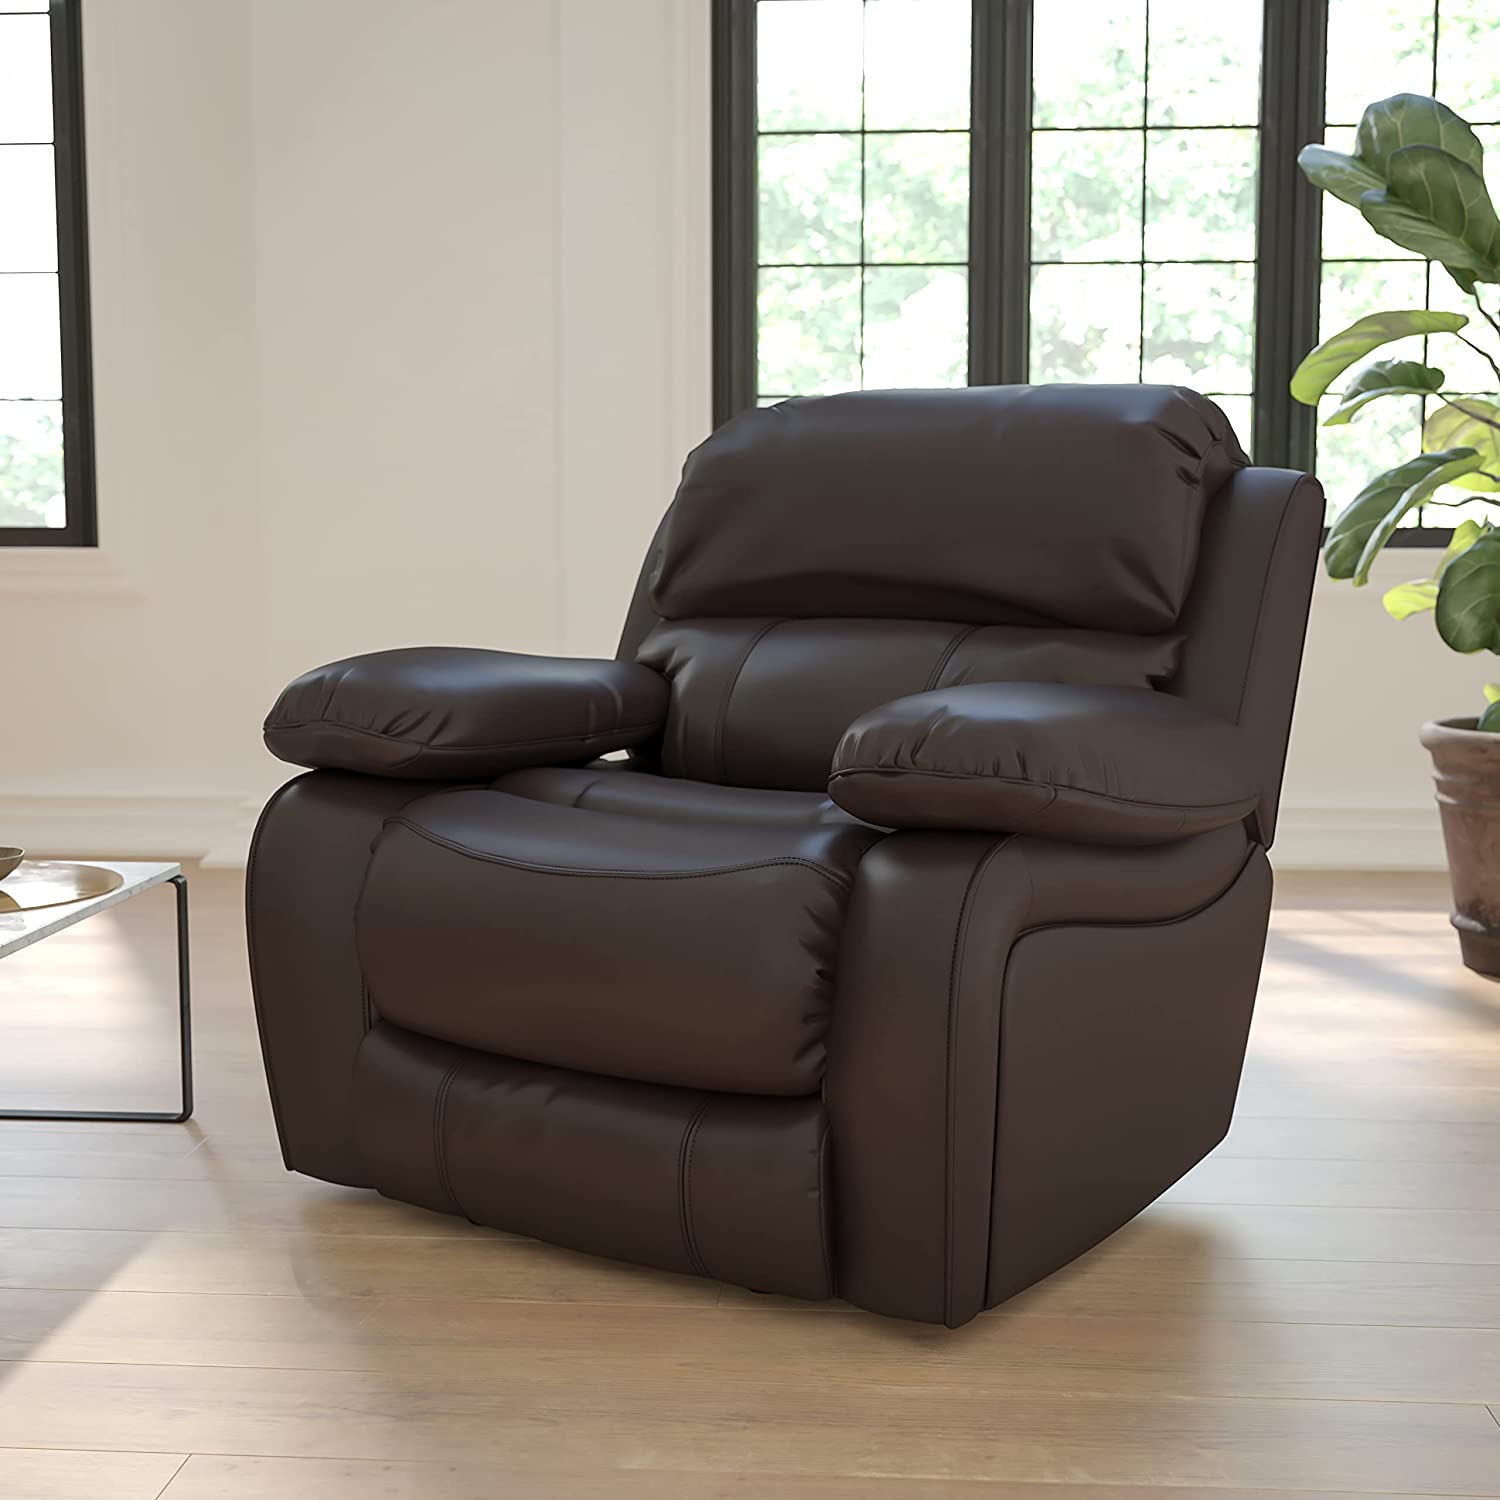
3. Flash Furniture Brown LeatherSoft Rocker Recliner
Tips/Guide for Buying Recliners for Big Man
Finding the perfect recliner that best suits your body size and personal needs can be challenging. Here are some tips to remember when shopping for a recliner that fits the big man:
• The size: Look out for the chair’s dimensions and seat. If you can test out the chair before purchasing it, that would be great since not all recliners perfectly accommodate a big or tall person. Also, be sure to have measurements of a recliner you have used and compare it with those you are concerning.
• The durability: Consider the materials used to construct the recliner, such as whether its frame is made of furniture-grade plywood or steel. The best structure is often a heavy-duty metal subframe with stable, sturdy legs.
• The space available: Once you have assessed the dimensions and the recliner is conducive for your body type. You also have to check if it will be a good fit for your allotted area at home or office. Remember that the location should be bigger than the recliner since it takes up an additional 6-8 inches from the space to allow it to recline.
Finding the right chair has never been easy. However, the furniture industry now has a plethora of options. As a result, there are tons of Lazyboy recliners on the market in our modern times. Hopefully, this guide will help you find the most suitable one for big and chubby people!
Lazyboy Ratcheting Recline (How it Works, Assembly, Parts & Repair)
If you have a Lazyboy recline chair, you will probably notice it gives a clunk-like sound once you try to recline. That happens due to the presence of a Ratcheting assembly. A Ratcheting assembly allows your chair to recline permanently when you level up the footrest. Let’s take a deep dive into how this works.
How Lazyboy Ratcheting Works
Here’s how the Lazyboy ratcheting recline works. You get to operate the ratchet using a level placed by the side of the recliner chair. It is necessary to pull the lever in a counterclockwise position to control the leg rest in three different views.
The first view allows for relaxed reading while the second position of the leg rest allows television view and the complete position gives a total relaxation. When you apply pressure to rest your back entirely, the lazy boy ratcheting feature gives a clunking sound. This moves along with the way you adjust the recliner’s lever.
There are two components responsible for the sound pitch of ratcheting recline. The components are ratcheting pawl and sub-assembly. The ratcheting pawl is accountable for the recliner’s movement in a single direction. As a side note, remove obstacles and provide a clear path around the recliner to prevent accidents.
Here’s a Youtube video showing how it works
Lazyboy Ratchet Replacement and Repair
If your recliner doesn’t seem to stay in a fixed position once you recline, then it’s high time you replace or repair the ratcheting assembly.
1. First off, turn the recliner upside down and expose the underside. You will see that the ratchet Pawl is attached to a wooden floor base while the pawl rack to a front frame board.
2. Your next step is to remove springs (do this carefully with your hand), but do this only when you remove the connecting clips. On removing the connecting pins, go ahead and turn the rocker springs loose.
3. The next line of action is to insert a piece of wood spacer on each side of the loosed rocker spring. The spacer keeps the rocker spring pre-stretched so that you can remove it easily. With the spacers in place, take off three screws so you can remove the floor base.
4. Now, you can remove the racket pawl from the base and ensure you mark its location on the wooden base. You can then unhook the spring from the lever body bottom and disconnect the linkage.
5. Take the linkage and spring, then connect both to a new pawl racket. Reattach the spring back to the base and ensure it’s tight. Remove staples from the bottom carefully and install the racket. Place the staples back, put the base back in and screw them.
6. Ensure you replace the linkage and remove the wooden spacers. Place the recliner back to normal position and test the recliner by pulling the side handle or lever. Now your recliner should be perfectly fit for reclining.
Where to Buy Parts?
You can find parts from third-party E-commerce stores like Amazon. Simply check Amazon’s official page and type in the Lazyboy part (like ratcheting pawl) you want to buy. This displays a whole list of lazyboy recliner parts. Make a purchase and wait for delivery. Also, special stores like IKEA and home depot provide an incredible resource for getting all the Lazyboy recliner parts you need.
Of course you can also checkout Lazyboy’s official website, go over their customer support section and make requests for replacement parts (like the Ratcheting Recline). When buying parts through this means, keep vital information like name, furniture id, furniture type, and special number handy.
Furthermore, there are chances you can get Lazyboy replacement parts from their official dealer where you bought the furniture. However, most retail dealers for Lazyboy recliners focus more on selling furniture than offering service or replacement parts.
Now you know about the ratcheting recline as part of what makes a recliner gives a clicking sound. This functionality allows you to relax your back comfortably fully. Make sure to look through this post to understand how it works, how to assemble and repair tricks whenever it develops a fault.
Lazyboy Protection Plan (Worth it? Reviews & Guide)
Take a scenario where your friend accidentally spills red wine over your furniture or your kid messes it up with cereal. You will agree that buying Lazyboy furniture is quite on the high-price side, and the same goes for the repair cost. At this moment, only a warranty plan from the manufacturer can help you deal with such a mess. But how does the protection plan work, and how will it protect you? Keep reading and get all the info you need.
What Is the Lazyboy Protection Plan?
The protection plan is also known as an extended furniture warranty. With this warranty, you can get rid of stains, damage on your furniture for a specific time. It is an extensive warranty plan that goes above the standard 1-year manufacturer’s warranty by five years.
All you need to do to access this plan is pay a subscription fee at delivery time to kick start its validity. However, the lazy boy protection plan doesn’t cover all the damages. Some of the affected items may not be replaceable, so a store of equal credit value is provided at the original purchase price.
What Does the Plan Cover?
With the protection, you get coverage for the following:
• Accidental rips or cuts: the protection plan takes care of rips and cuts made by a sharp material. This is quite special to leather furniture.
• Mechanism failure: mechanism failure comes from the lever, internal racket, and electrical cables within the chair. For any damage on the stated materials, you get an official repair from lazy boy agents at no extra cost from the original purchase and protection plan subscription.
• Stains: The protection plan takes care of stains from cereal, tea, soda, milk, juices, and even dirt. Don’t try to remove the stains yourself. Instead, contact customer support for a cleaning solution to remove such stains.
• Joints and springs: The protection plan covers both fabric and leather furniture material for the joints and springs.
• Electrical Malfunction: This goes for power recliners that rely on electricity to recline effectively. Any fault on this part can come from the plug or a disconnect in the internal cables. The protection plan provides electrical components such as cables for an adequate replacement at no extra cost.
What Doesn’t the Plan Cover?
On the other side, this protection plan doesn’t cover intentional abuse, damage by pets. Other damage includes;
• Fabric or leather wrinkling
• Damage through vandalism or natural disaster
• Furniture damage in a logistic process.
• Foam resiliency.
• Damage from cleaning by anyone other than lazy boy agents.
How Much Does the Protection Plan Cost?
The cost of the plan depends on the price worth of furniture. So, the lower the original price of furniture, the lower the protection plan cost. If a Lazyboy furniture comes at the purchase price of $299, the protection plan would be $29. For a furniture unit worth $1500 to $2000, the protection plan comes at $199.
Is the Protection Plan Worth It?
Yes! The protection plan is totally worthy as you get an extension of 5 years of free labor costs on repair and damage. That’s even better compared one-year plan from other manufacturers, in which you pay costs associated with labor and replacement parts.
What Is The Lazy Boy iClean Warranty?
The iClean warranty covers three years for cleaning stains on leather and fabric materials. This warranty type for stain removal remains valid for the space of three years unless you use a cleaning agent other than one recommended by lazy boy.
Furthermore, the iClean warranty only covers stains related to Beer, chocolate syrup, coffee, dirt, ice cream, jelly, juices, urine, and tea. Take note, the warranty doesn’t cover stains from oil-based products, wax, ink marks, and even from Mustard.
Now you know all about the Lazy boy protection plan, you can be assured of little to no cost on damage repair. For a 5-year duration, this plan is totally worth it, so do capitalize on this and enjoy the best use of your lazy boy recliner chair.
How to Find Lazyboy Parts and Repair Shop Near You
Lazyboy Recliners comes with vast features that showcase its durability. However, as the case with most furniture, they are not spared from wear and tear. Such damages occur mainly due to inherent abuse. The best option is to get the best parts and look for a reliable repair shop to help fix damaged recliner parts.
How to Find Lazyboy Parts Near You
1. Online sites: Doing a simple online search for nearby stores that sell spare parts relieves you a lot of stress. The internet comes with a vast resource for getting spare parts. These spare parts are spread across many shops with a digital address, and they could be in a location near you. Therefore if you want to avoid Amazon delivery costs. You could do a simple search online or ask on an online forum like Reddit. We also have a list of Lazyboy parts you can buy online.
2. Your repairmen: As obscene as that might look, your repairman is one of your best consults in getting a Lazyboy spare part. Such a repairman could have a collection of spare parts they use in repairing many a recliner. If such a recliner part is out of stock, they could provide detailed information on the nearest location you can get them.
3. Dealer: This is the actual place where you bought your recliner. Most shops or outlets that deal with the sale of recliners usually include a host of its spare parts for those needing repairs. This is often the best place to get any parts specific to the type of recliner you use. These parts could range from mechanical parts like D-ring replacement, Rocker spring, release-handle, and so on.
How to Find a Lazyboy Repair Shop Near You
1. Place of Purchase: The dealer or the site where you purchase the lazy boy recliner from may provide repair works for any unit that is damaged and for which the 1-year warranty covers. In a case where you need repairs, all you to do is contact them, and they will provide a repair service close to your current location.
2. Internet: There are often forums online where you could make inquiries about a nearby repair shop for your defected lazyboy recliner. With the use of the internet, you can search through a catalog of repairmen that have a digital presence online. You could also make your inquiries the customer service on the lazyboy website. From there, you can get the address of a nearby lazyboy repairman close to your place of residence.
3. Authorized Dealer near you: In finding a repair shop for your lazyboy recliner, you could consult a nearby lazyboy recliner dealer. In some way, such a dealer will be able to help with repairs or even direct you to a nearby repair shop to help fix any defect on your recliner.
Buying Guide for Lazyboy Parts
Brand Value
This is one of the most important factors you have to consider when buying a lazyboy recliner. For every spare part, check to see the product information, and know the spare part brand integrity. Getting a well-trusted recliner spare part is often the best option as it comes with the needed reassurance.
Quality & Durability
Check for the quality of whatever spare part you want to purchase. Any spare part with good quality makes the whole process of repair or replacement worthwhile. Avoid buying spare parts that look a bit distorted from the normal ones.
Customer Reviews
You need to check out reviews from customers who had once tried the recliners spare part bought from a particular store. Customer reviews in the form of ratings and comments influence how good the product is. However, you avoid spare parts at any point of purchase that comes with a lot of negative feedback from customers.
Warranty
Many of these spare parts come with product warranties, while you find some with a 1-year warranty or even a two-year warranty. Always look out for the product warranty when purchasing that also determines how reliable the spare part will be.
This article removes the painstaking process of getting lazyboy spare parts and getting a repairman to fix issues with your favorite recliner. This article offers a guide on how to locate a repair shop near you and things to consider when buying a lazyboy spare parts relative to location.


